
Change billing and delivery schedule
With Loop Subscriptions, you get the most powerful subscription editor allowing you to make any type of changes in an existing subscription whether it is related to product, billing, shipping or payment.
- Change the delivery frequency
- Change the billing behaviour
- Add/remove or modify anchor day
- Change minimum and maximum billing cycles
How to access the subscription detail page?
In order to modify a subscription, you would need to access its detail page. For that, you would first need to go to the Subscriptions page.
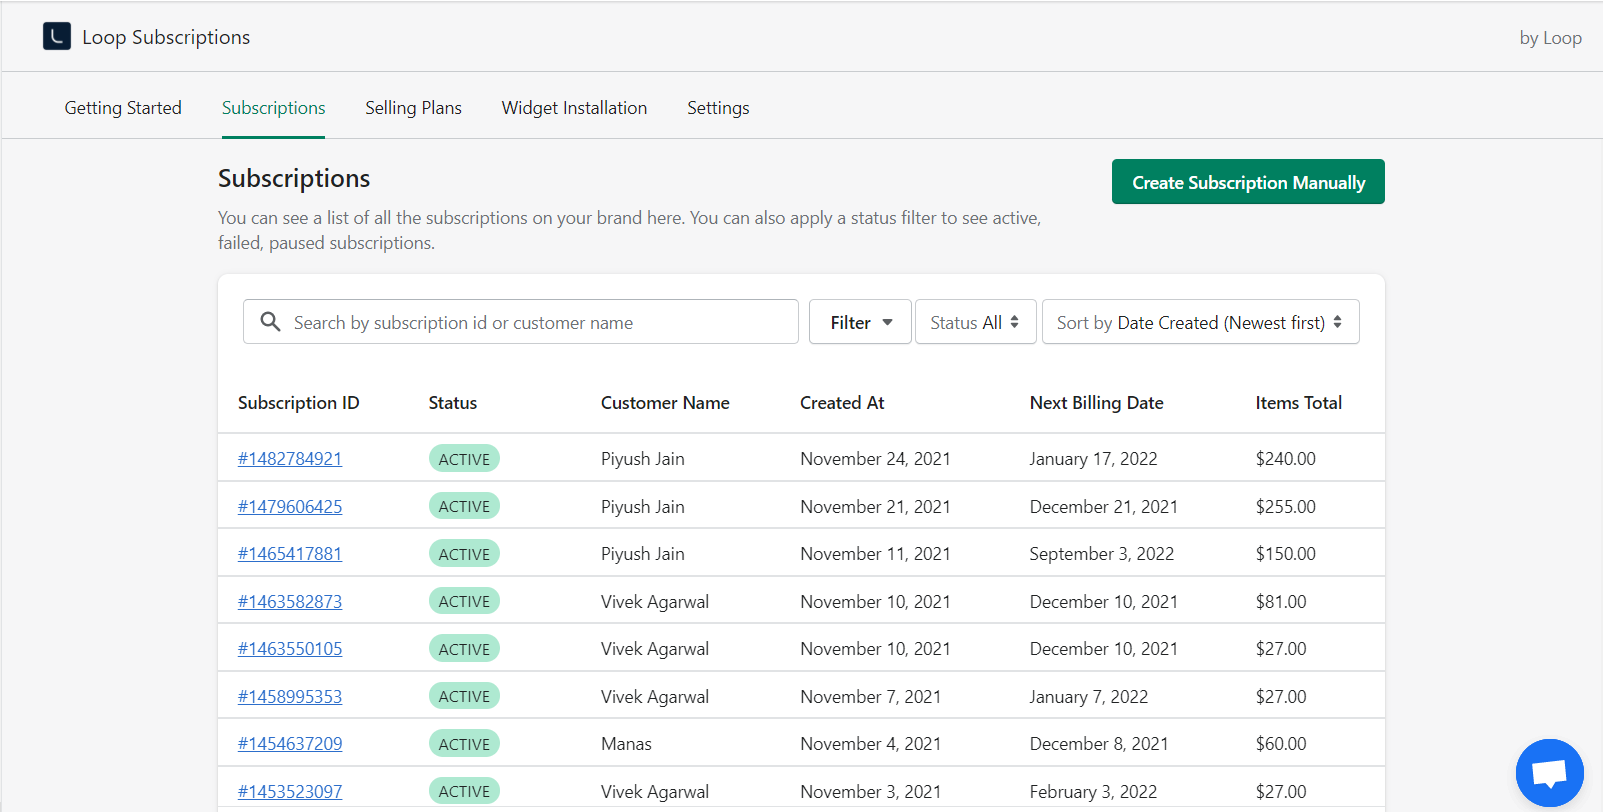
You can enter either the subscription ID or the customer name to search for the subscription you want to edit.
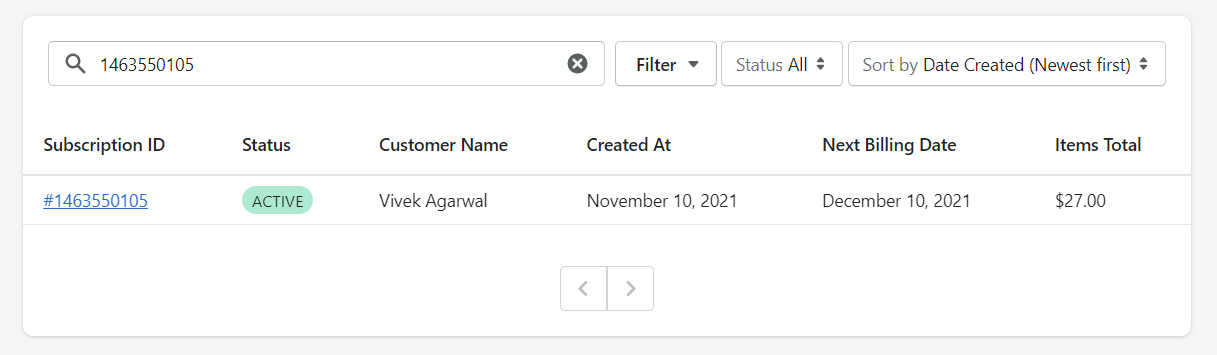
Once you got the subscription you want to modify, just click on the subscription ID link shown in the first column and it will take you to the subscription detail page.

How to change the delivery frequency of an existing subscription?

How to change the billing behaviour of an existing subscription?
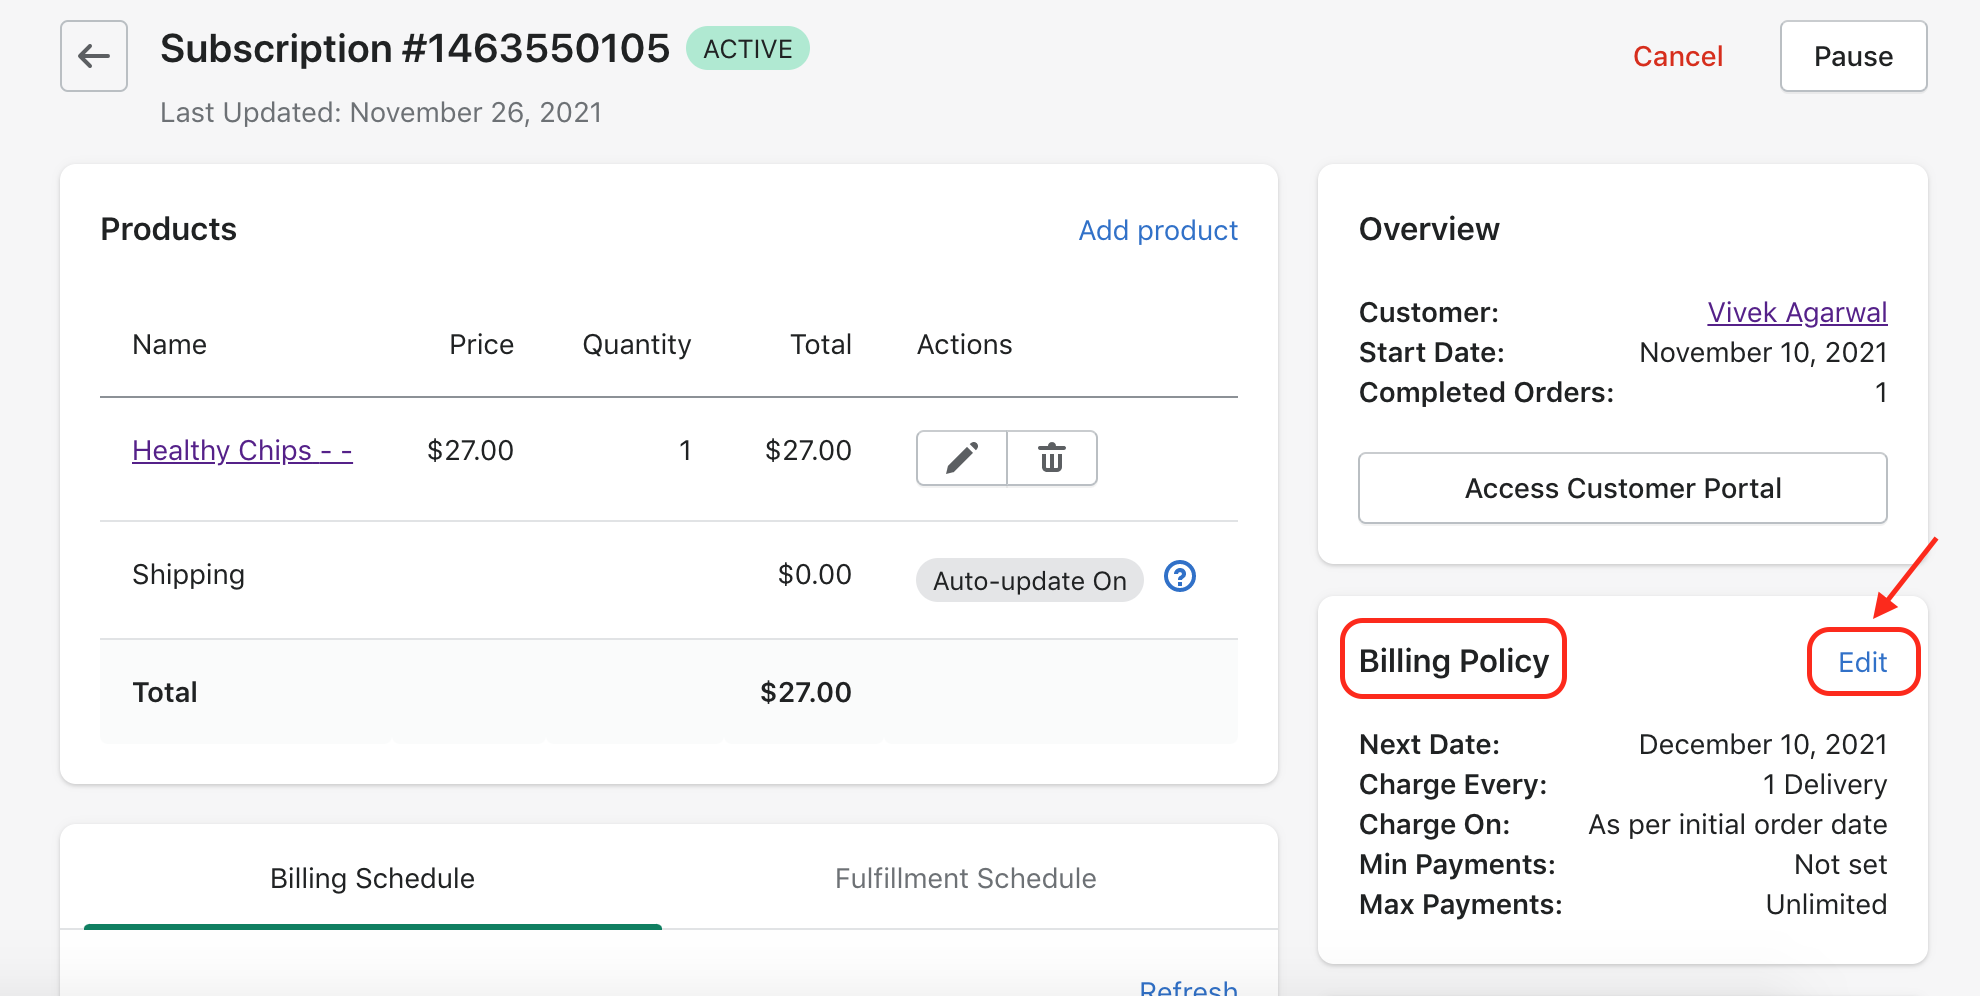
Sometimes, it may happen that you want to convert a prepaid subscription to a non-prepaid subscription or vice-versa. Or you might want to change the number of deliveries to be charged upfront. For all such use-cases, you just need to change the billing behaviour of the subscription as explained below.Step1: Click on the Edit link at the top-right corner of the Billing Policy card.

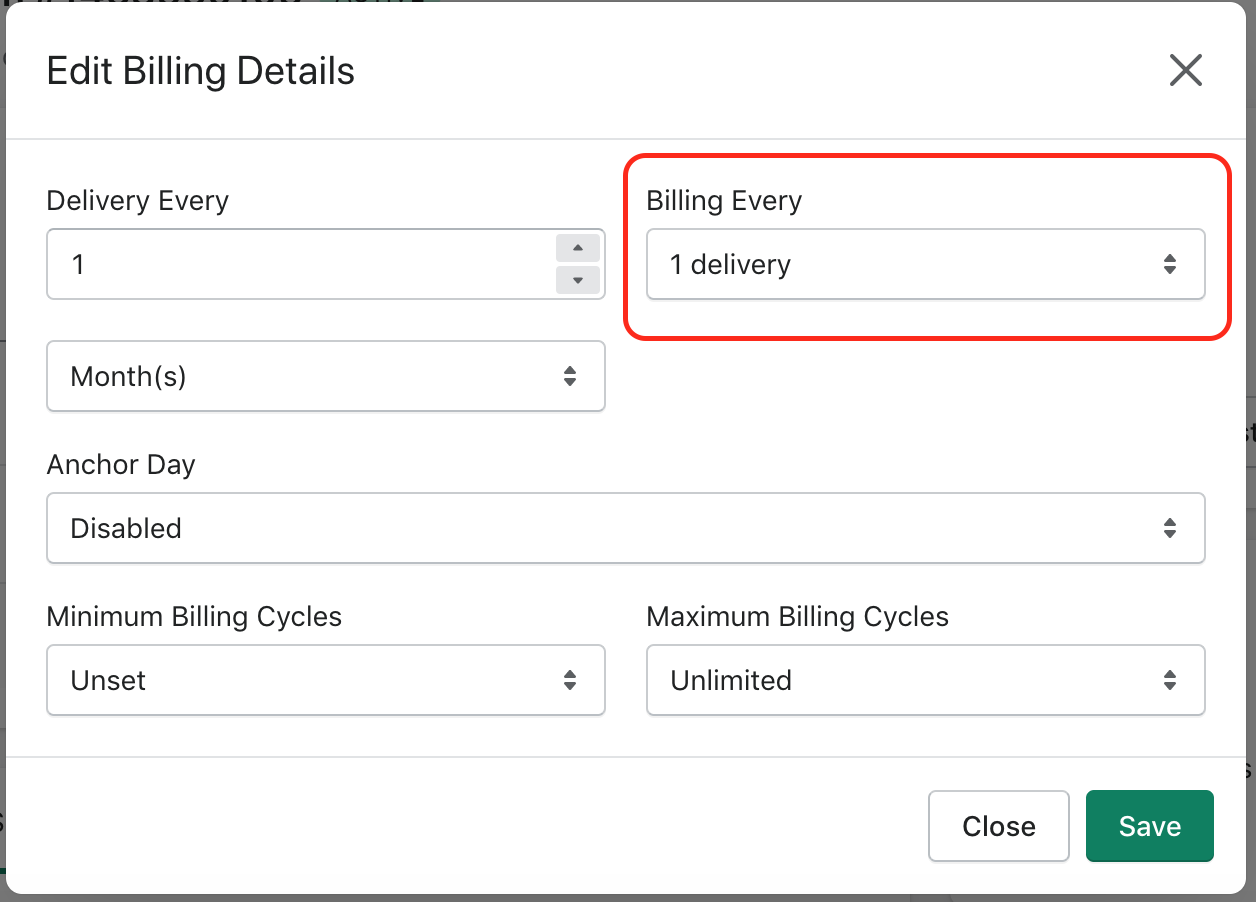
Step2: In the Edit Billing Details popup, you will find the Billing Every field. For a regular subscription, this value will be equal to "1 delivery" meaning that the customer will be charged per delivery. You can edit the number of deliveries you want to charge and click on the Save button to update the subscription.
How to add/remove or modify the anchor day of an existing subscription?
Adding or modifying an anchor for an existing subscription

 For weekly deliveries, you can configure what day of the week (Monday, Tuesday etc) you will be charging the customer.
 For monthly deliveries, you can configure what date of the month (1st of the month, 2nd of the month etc.) you will be charging the customer.
 For yearly deliveries, you can configure what date and month of the year (1st of May, 2nd of Aug etc) you will be charging the customer.

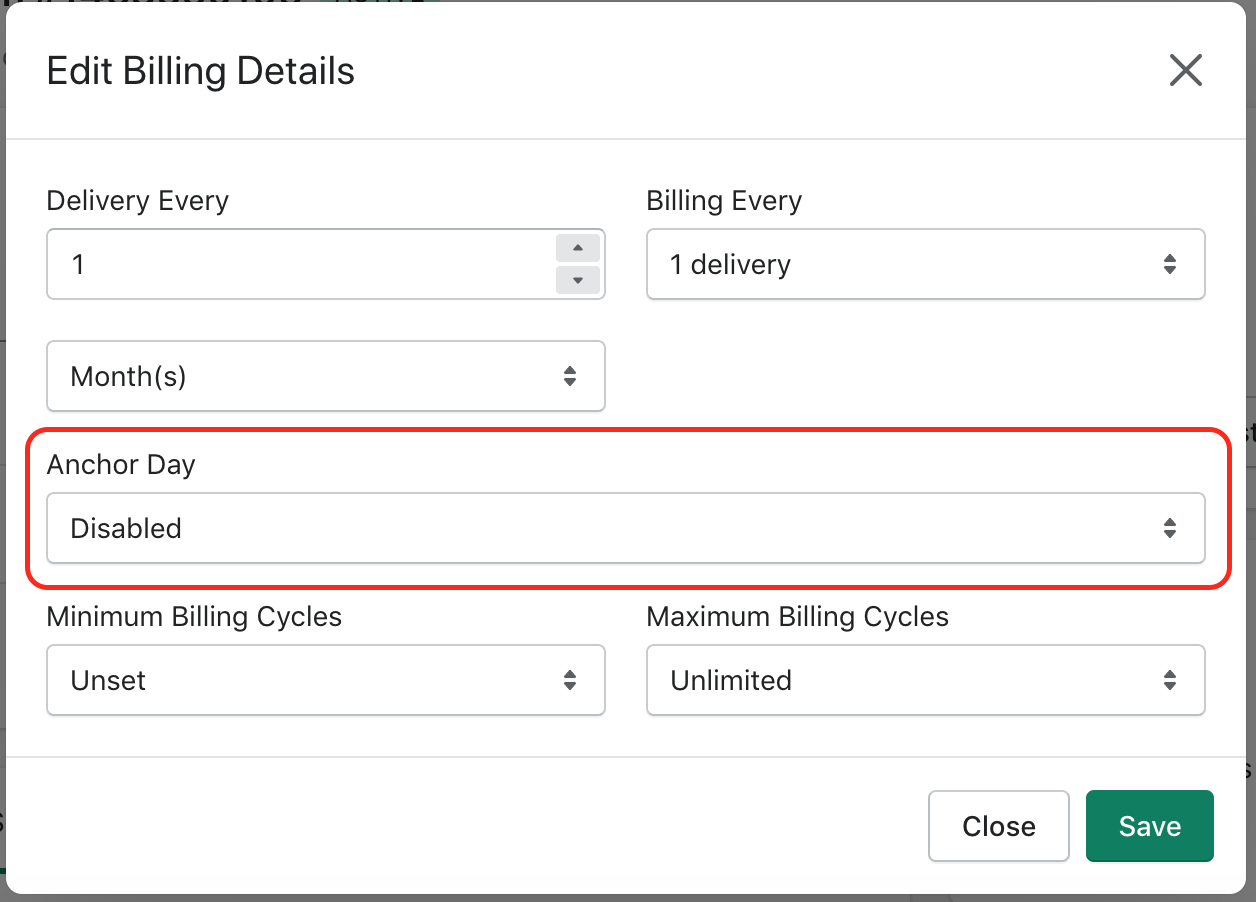
Removing an anchor for an existing subscription
Click on the Anchor Day dropdown in the Edit Billing Details popup and choose the option "Disabled". And then click on the Save button, the anchor will be removed from the subscription and the next upcoming billing date will be recalculated as per the start date of the subscription.
Change minimum and maximum billing cycles of an existing subscription
Minimum and maximum billing cycles settings allow you to control the billing cancellation and completion behavior.
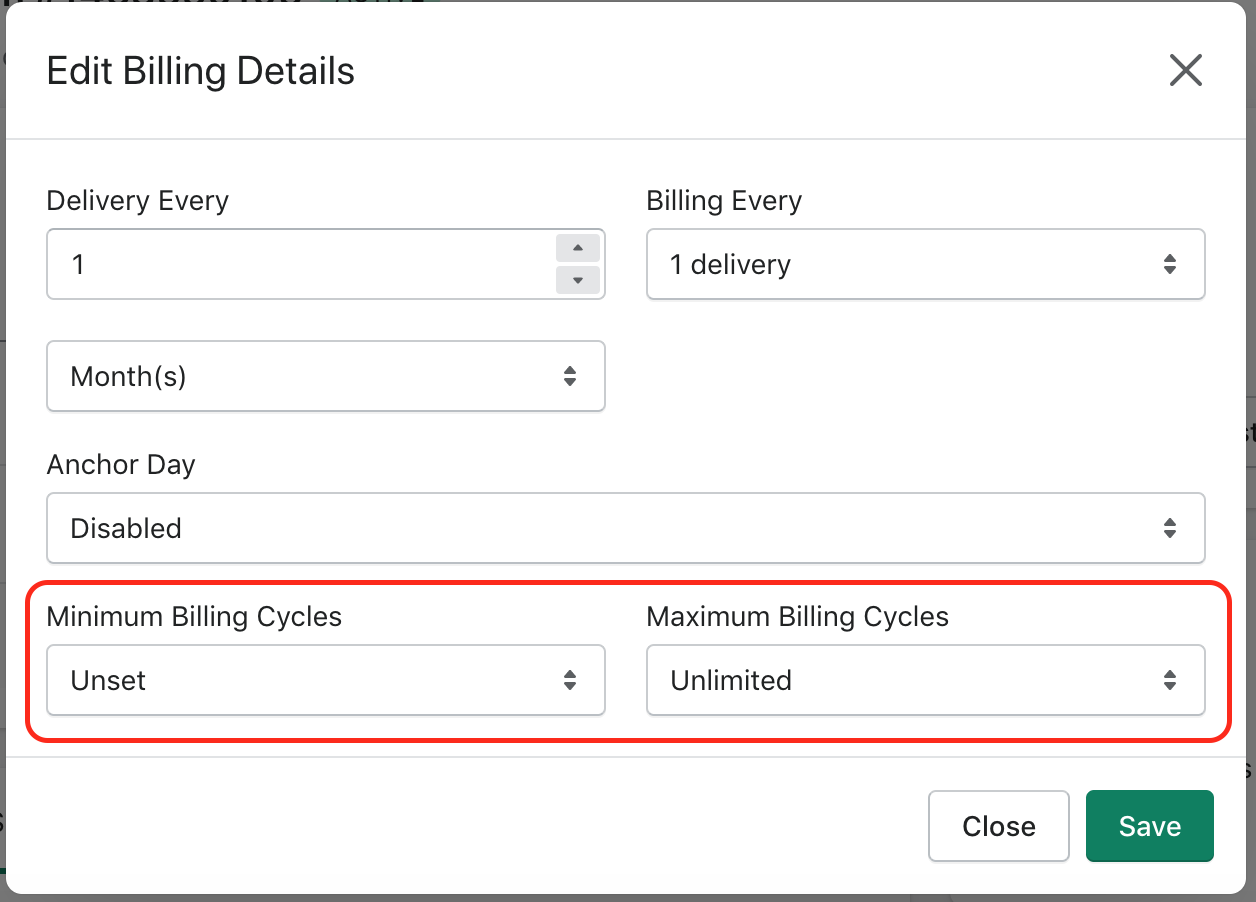 Note: The initial order is counted in the number of payments calculation. So, if you set the min billing cycles value as '1', then it would mean that the customer can cancel as soon as they purchase the subscription from the checkout.